

Gua Sha for Jawline: The Technique That Actually Sculpts and Defines
Scroll through TikTok for more than five minutes and you'll see it: someone gliding a smooth stone tool along their jawline, and somehow their face looks sharper, more defined, more sculpted by the end of the video. It looks almost too good to be true.
Here's the honest answer: gua sha genuinely can help define and sculpt your jawline, but the technique matters enormously. Random scraping in no particular direction won't get you there. A specific, deliberate approach will.
If you want to actually see results from gua sha on your jawline, not just play with a pretty stone, here's exactly how to do it right.
Why Your Jawline Loses Definition in the First Place
Before getting into technique, it helps to understand what you're actually working with. A soft or less-defined jawline usually comes down to a combination of factors: fluid retention and puffiness that blur the natural contour, muscle tension (especially from jaw clenching or "tech neck" from constantly looking down at phones), and the skin and tissue's natural response to gravity and aging over time.
Gua sha doesn't change your bone structure. It's not going to give you a jawline you weren't born with. What it does is address the soft tissue factors: reducing puffiness, releasing tension, and improving circulation, all of which can reveal more of your natural bone structure that's currently being obscured by fluid and tightness.
The Technique That Actually Works
Step 1: Prep Your Skin Properly
This step is non-negotiable. Never use a gua sha tool on dry skin. Apply a generous amount of facial oil or a dedicated gua sha serum first. Your tool needs to glide smoothly without dragging, and dry skin causes exactly the kind of friction that leads to irritation rather than results.
Warm a few drops of oil between your palms and press it into your jawline and neck area before you pick up your tool.
Step 2: Choose the Right Tool Angle
Hold your gua sha tool at roughly a 15 to 45 degree angle against your skin, almost flat but with a slight tilt. This angle allows the edge to glide smoothly through the tissue rather than digging in or catching. Too steep an angle can feel uncomfortable and won't give you the smooth gliding motion you need.
Step 3: Anchor Before You Stroke
Use your non-dominant hand to gently hold the skin taut at your starting point, usually the center of your chin. This creates a stable surface for the tool to glide over and prevents unnecessary pulling or stretching of your skin.
Step 4: Follow the Correct Direction
This is where most people go wrong. Direction matters enormously for actually seeing results.
Start at the center of your chin and glide outward. Position your tool at the middle of your chin and stroke outward along the jawbone toward your ear. Repeat this motion 5 to 10 times on each side.
Move along the jawbone upward toward the ear. After the outward strokes, glide the tool along the length of your jawbone, moving from your chin toward your earlobe. This follows the natural line of your jaw and helps define that edge.
Target the masseter muscle. This is your jaw's chewing muscle, and many people hold significant tension here without realizing it. Place your tool at this point (roughly midway along your jaw, where you'd feel your muscle flex if you clenched) and use medium pressure in a gentle circular motion. This helps release built-up tension that can make your jawline look tighter and less defined.
Finish by sweeping down your neck. This is a critical final step. Glide the tool down the sides of your neck toward your collarbone. This helps drain the fluid you've just moved during your jawline strokes, rather than letting it pool right back where you started.
Step 5: Repeat With Consistent Pressure
Aim for 5 to 6 repetitions of each stroke pattern. The pressure should be firm enough to feel like a genuine massage, but never painful. If you're seeing excessive redness that lasts more than 20 minutes, or if it hurts, you're pressing too hard.
How Often Should You Do This
For visible results, consistency matters more than intensity. Practicing your gua sha jawline routine 3 to 4 times per week gives your skin and tissue enough regular stimulation to see cumulative benefits.
Doing it once and expecting a permanently sculpted jawline isn't realistic. But building this into your routine several times a week, over several weeks, is where people start noticing genuine, visible differences.
What Results You Can Actually Expect
Immediately after one session: Your face will likely look less puffy and feel more relaxed. This happens quickly because you've just moved fluid and released some surface tension. Many people notice their jawline looks slightly sharper right after a session.
After several weeks of consistent practice: The cumulative effect of regular lymphatic drainage and tension release becomes more visible. Your jawline can appear more consistently defined, not just temporarily after each session, because you're regularly clearing away the puffiness and tension that was obscuring it.
What it won't do: Gua sha won't permanently reshape your bone structure or provide the same results as a cosmetic procedure. There's limited scientific evidence that it creates permanent structural changes to facial tissue. The sculpting effect comes from fluid movement and muscle relaxation, not from actual collagen restructuring or fat redistribution. Think of it as revealing your natural jawline rather than creating a different one.
Common Mistakes That Reduce Your Results
Skipping the oil. Using gua sha on dry skin causes tugging and irritation, and reduces the effectiveness of the massage itself.
Moving in random directions. Direction is critical for lymphatic drainage. Random scraping without a clear outward-and-downward pattern won't move fluid effectively.
Pressing too hard. More pressure doesn't mean better results. It just risks irritation and unnecessary redness.
Skipping the neck. If you only work on your jawline and skip the neck-draining step, you're not actually clearing the fluid you've moved, you're just shifting it slightly and letting it pool again.
Inconsistent use. A single session before a big event can offer a temporary refresh, but the actual sculpting benefits require regular, consistent practice.
Clenching your jaw during the massage. Try to keep your jaw relaxed throughout. Clenching creates tension that works against what you're trying to release.
Enhancing Your Results
Combine with facial exercises. Gentle jaw and neck stretches, done separately from your gua sha routine, can help activate and tone the muscles that support your jawline, complementing the tension release you get from the massage itself.
Stay hydrated. Proper hydration supports healthier-looking skin and can help reduce baseline puffiness, giving your gua sha routine a better starting point.
Be patient with the process. The most successful approach treats gua sha as an ongoing ritual, not a one-time fix. The compounding effect of regular practice is where the real results live.
The Bottom Line
Gua sha can genuinely help define and sculpt your jawline, but only with proper technique: the right angle, the right direction, and the right consistency. It won't change your underlying bone structure, but it can reduce the puffiness and tension that's been quietly obscuring your natural jawline this whole time.
Done correctly, a few minutes several times a week adds up to a visibly more sculpted, defined look over time. It's not an overnight transformation, but it's a genuinely effective ritual when you commit to doing it right.
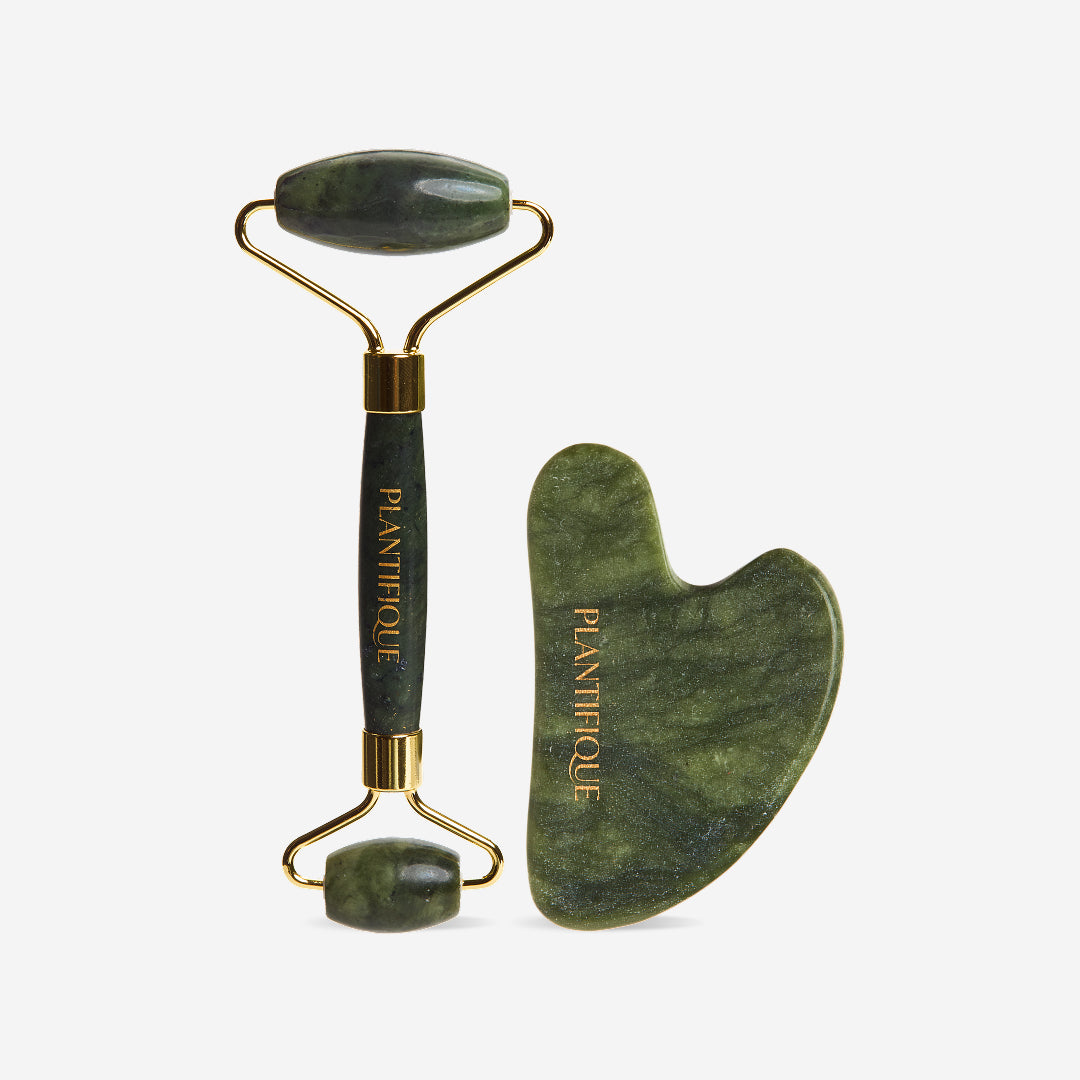
Ready to start? The Rose Quartz Gua Sha is designed with the smooth edges and ergonomic shape needed for proper jawline sculpting technique. Pair it with a nourishing facial oil, follow the steps above, and give your natural jawline the chance to show through.
Read more
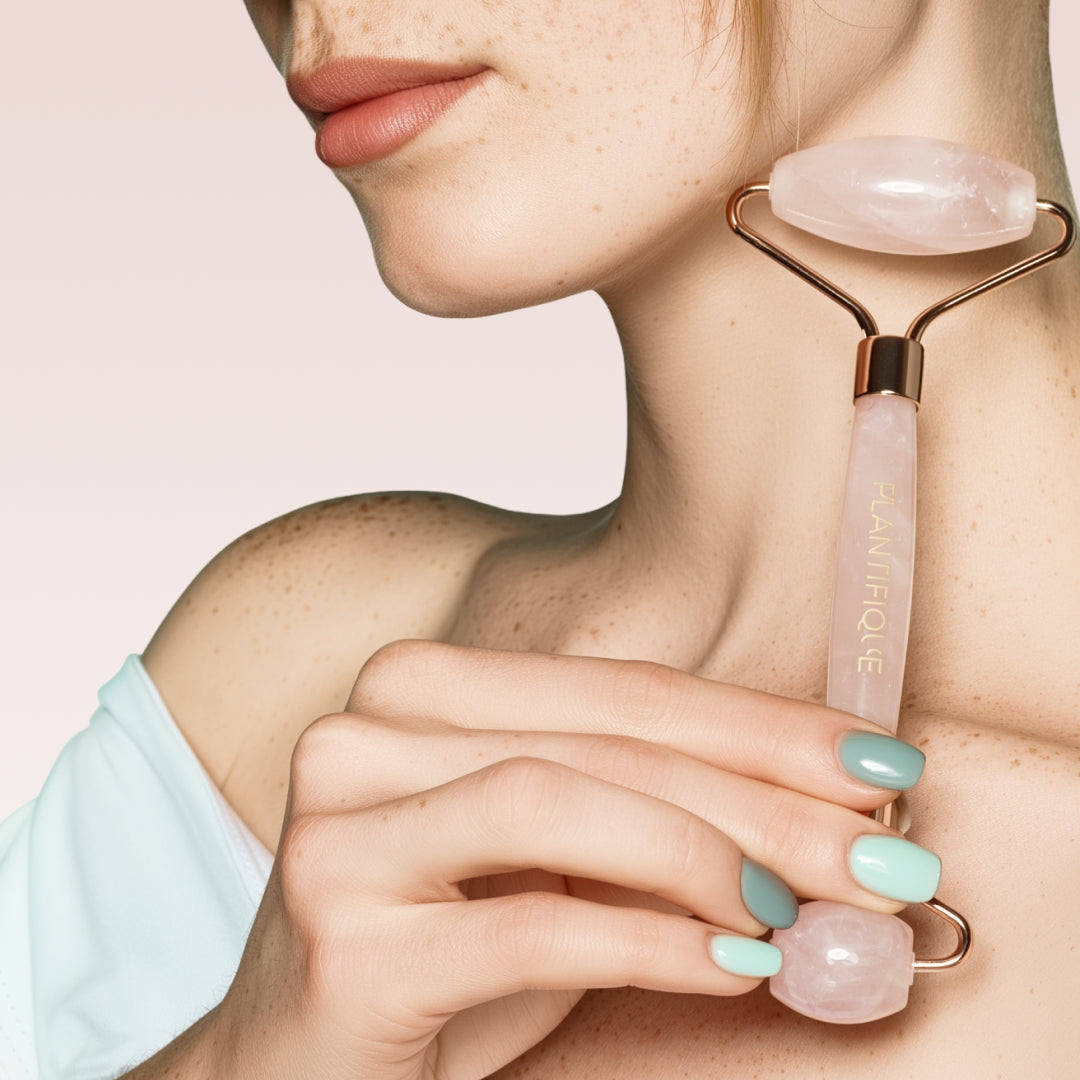
There's a reason you keep coming back to it. Not the jade roller sitting next to it, not the gua sha stone in the drawer. The soft pink one. The one that feels cool against your skin at the end of ...
You've probably noticed jade rollers everywhere, from beauty aisles to influencer shelfies to gift shops at the airport. They're inexpensive, they look pretty, and they promise all sorts of skin be...